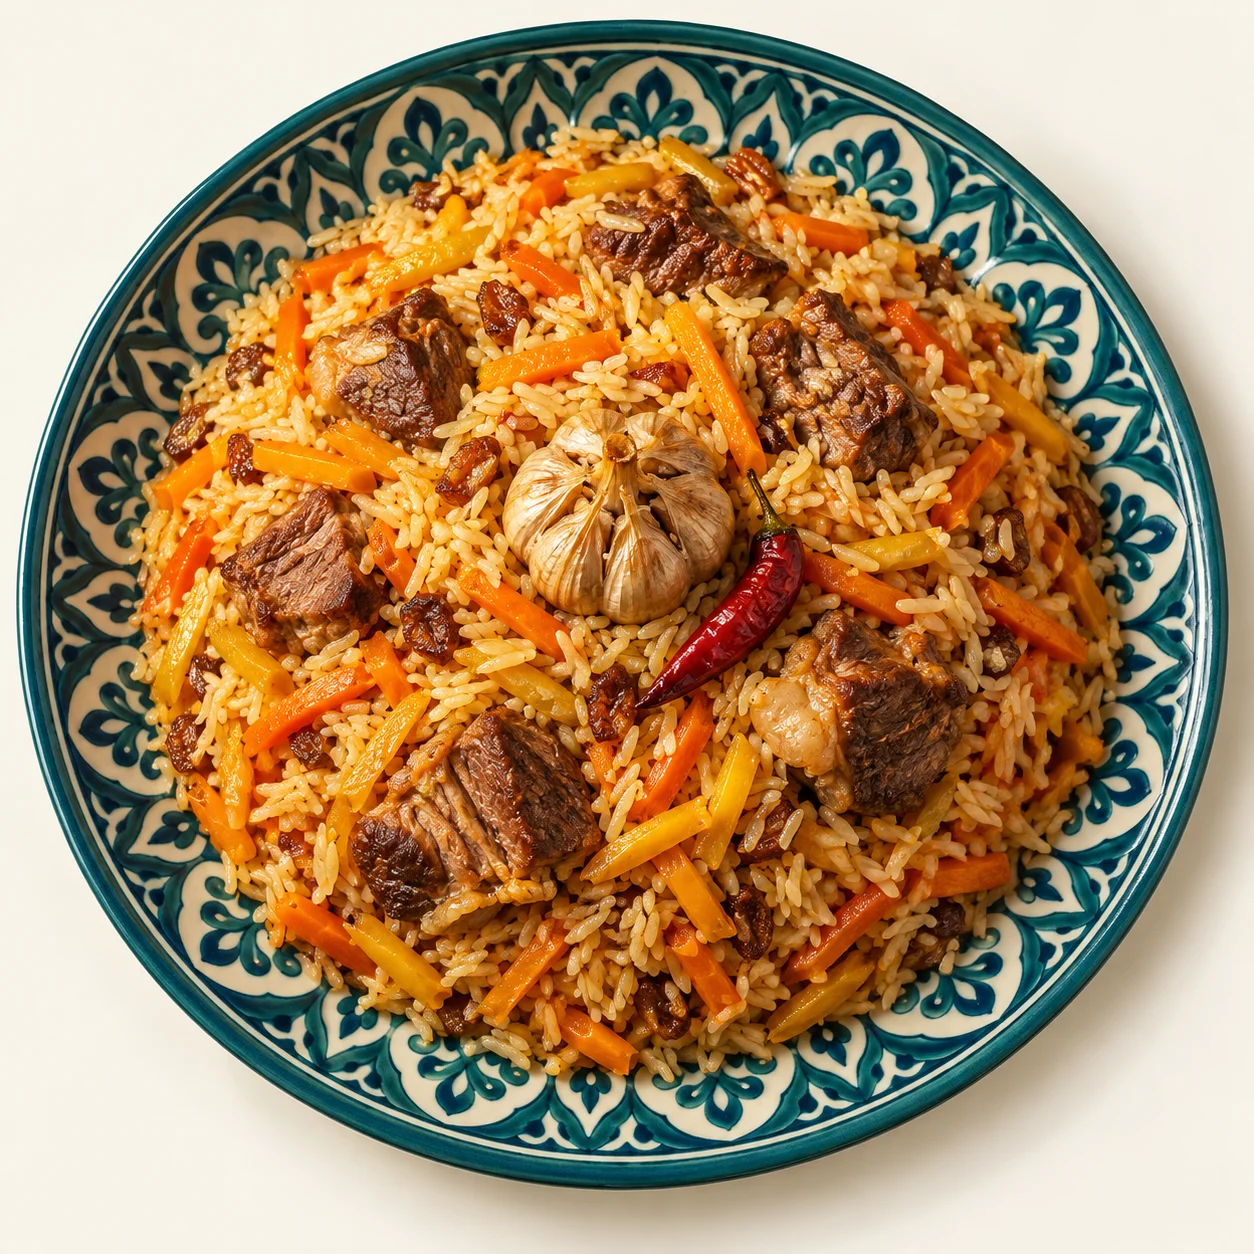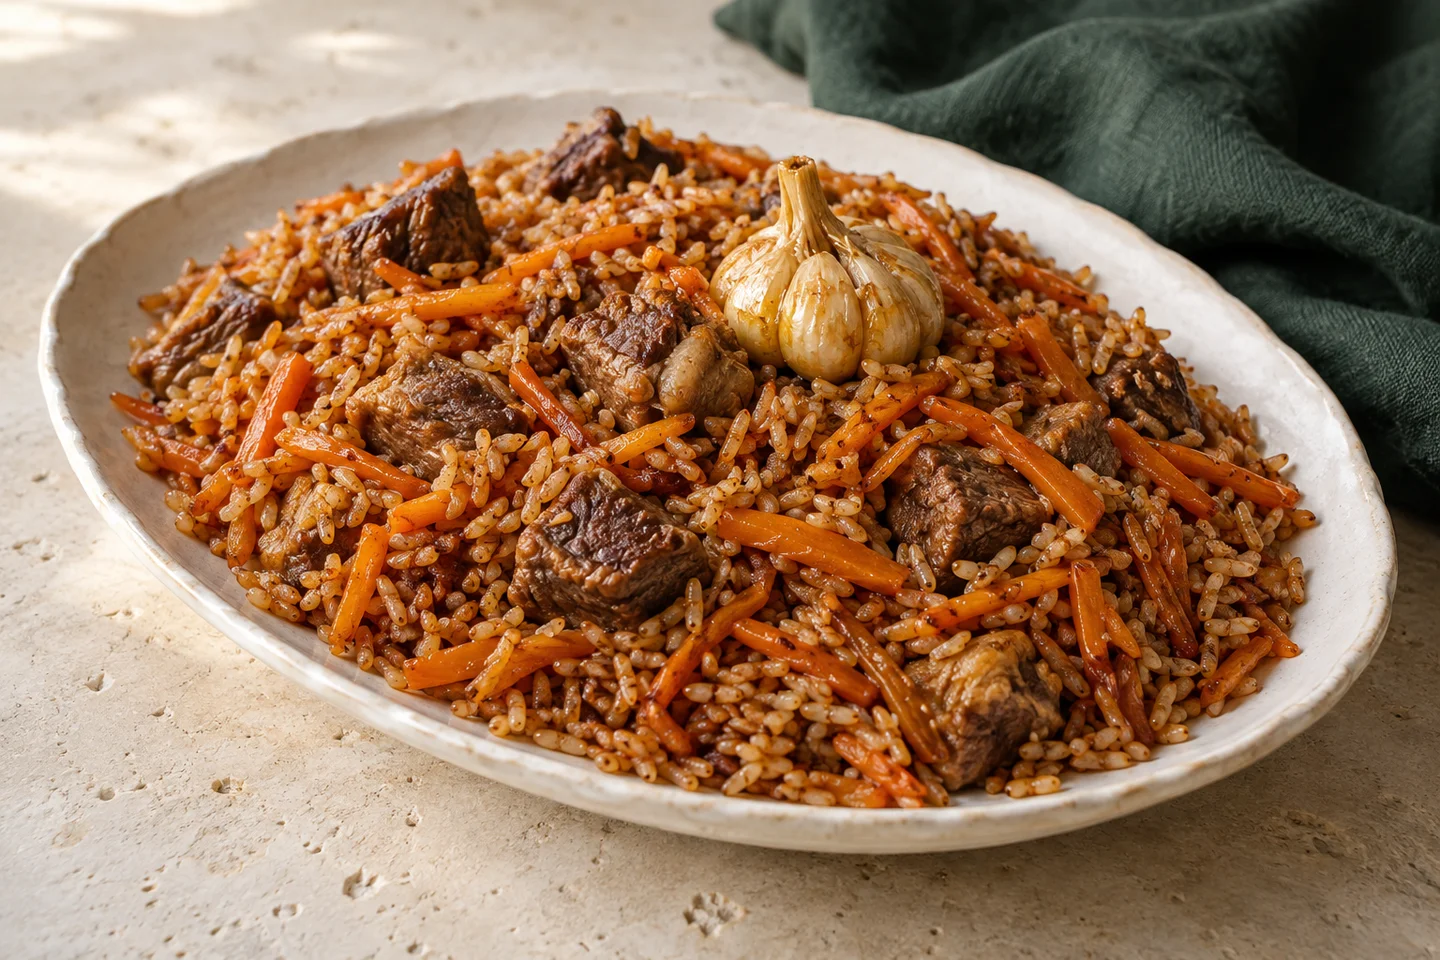
Uzbek palov
Home-style palov: from kazan to table
Meat, carrots and separate grains of rice. A home recipe for making palov step by step, watching the ingredients as they cook.
Watch the process, then follow the steps.
Prepare the ingredients
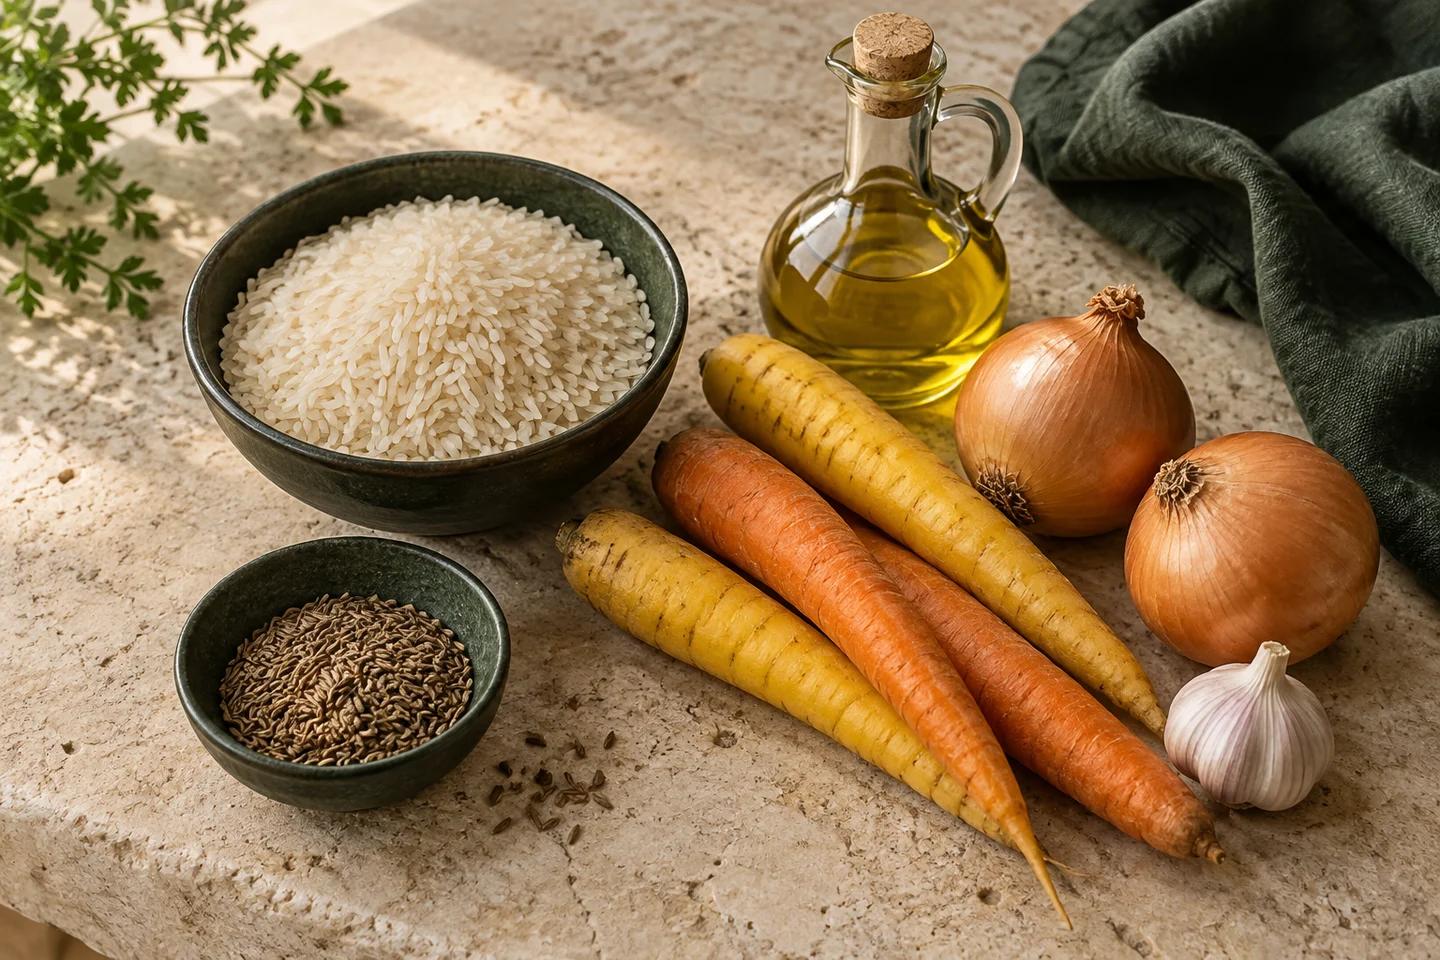
Pick over and rinse the rice. If soaking is needed, follow the packet guidance for your chosen variety. Cut carrots into strips of even thickness, onions into half-rings and meat into evenly sized pieces.
Have the kazan, skimmer, hot water and lid ready beforehand. Adjust salt and water to your rice, meat and pot; there is no single fixed quantity for every situation.
Brown the meat, onions and carrots
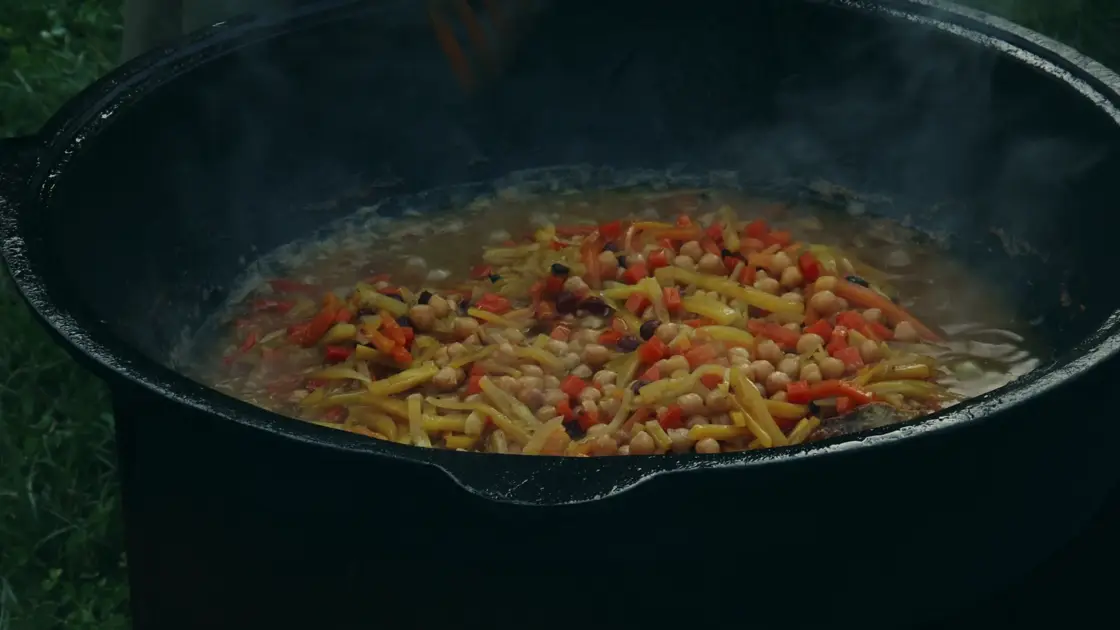
Heat the oil in the kazan without overheating it. Add the meat carefully and let its surface brown. Add the onions next; do not let them burn black. Add the carrots and stir gently so they do not break.
This sequence is one practical home-style method. The heat and size of the kazan influence the result. If the ingredients are burning, lower the heat.
Cook the zirvak at a steady simmer
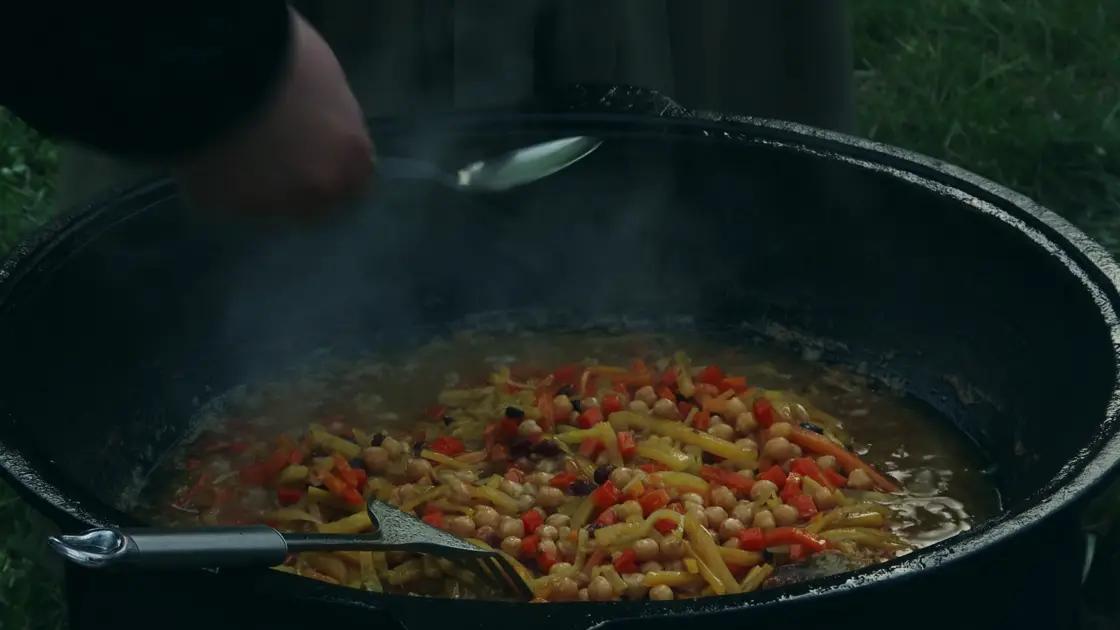
Carefully add hot water to the fried base. Do not pour water suddenly into very hot oil. Balance the cumin, garlic and salt. Simmer steadily until the meat is tender.
If the meat is still tough, do not rush to add the rice. The flavour of the zirvak will spread through all the rice in the pot; avoid excessive spices and salt.
Manage the rice and water
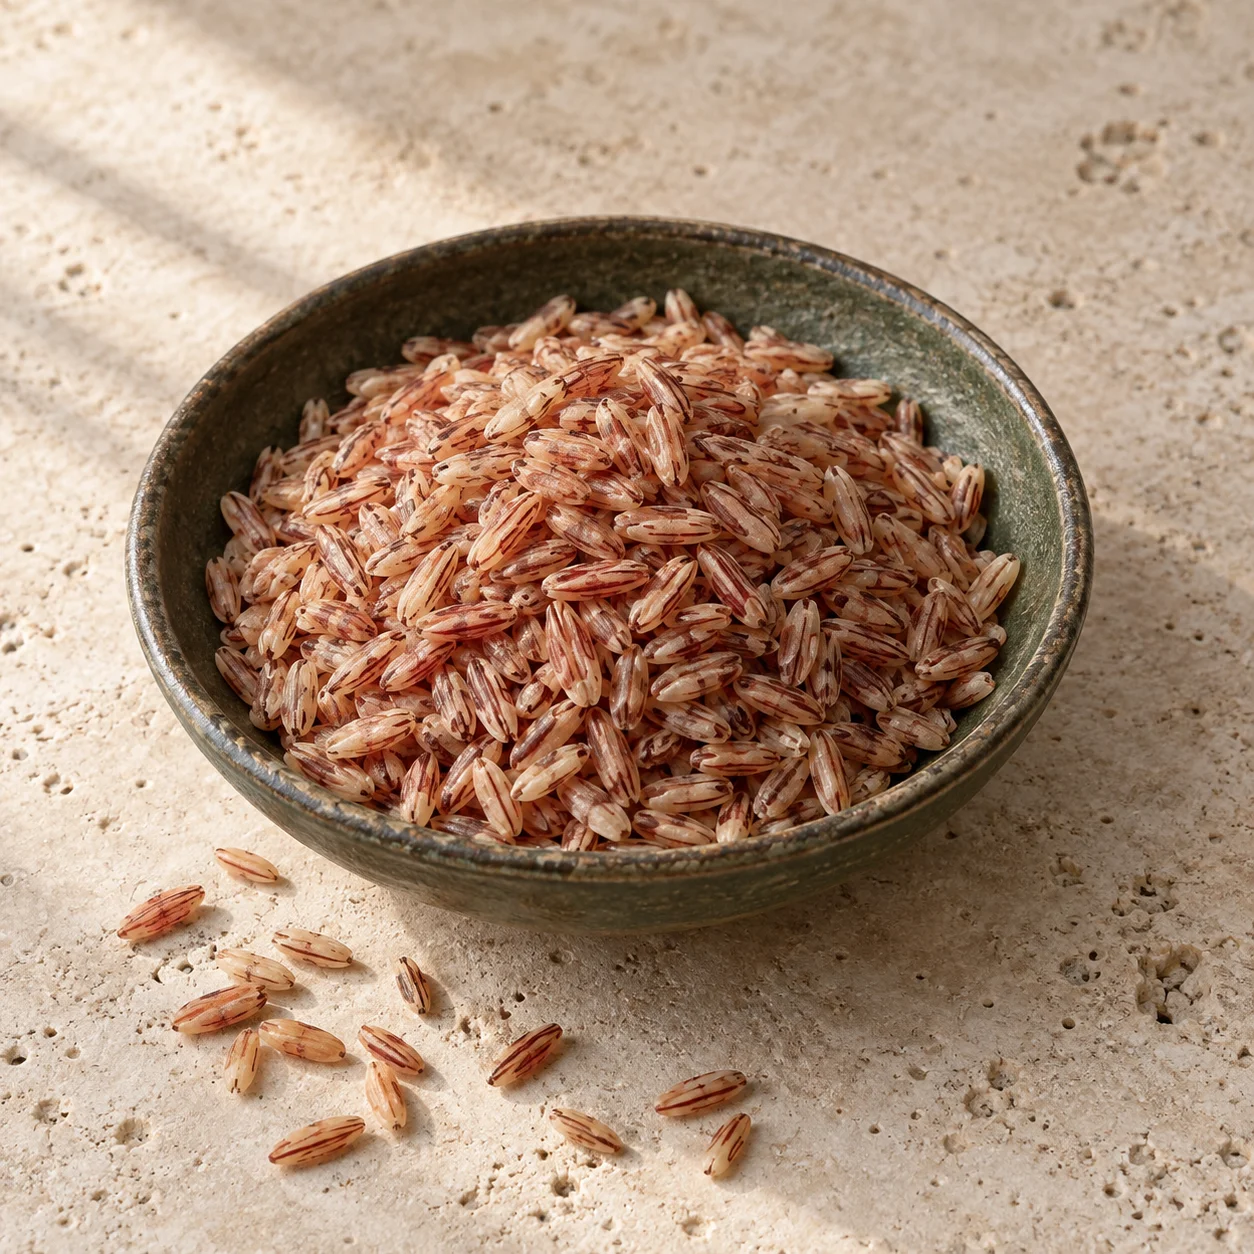
Drain excess water from the rice and spread it evenly over the zirvak. Do not immediately mix it with the meat and carrot layer. Gently pour any water needed over the skimmer so the rice layer stays undisturbed.
Watch the liquid reduce, the grains swell and the pot boil evenly. Check the centres of grains from several spots. Water needs depend on the rice variety, whether it was soaked, the pot and the heat.
Finish covered over low heat
Once excess liquid has been absorbed and the rice is nearly ready, finish cooking under a lid over low heat. Opening the lid repeatedly lets the steam escape more quickly.
The timer is only a reminder: check after an initial 15 minutes. The rice's doneness, pot and variety take priority. If you notice signs of burning, do not wait for the timer to finish.
Serve and share
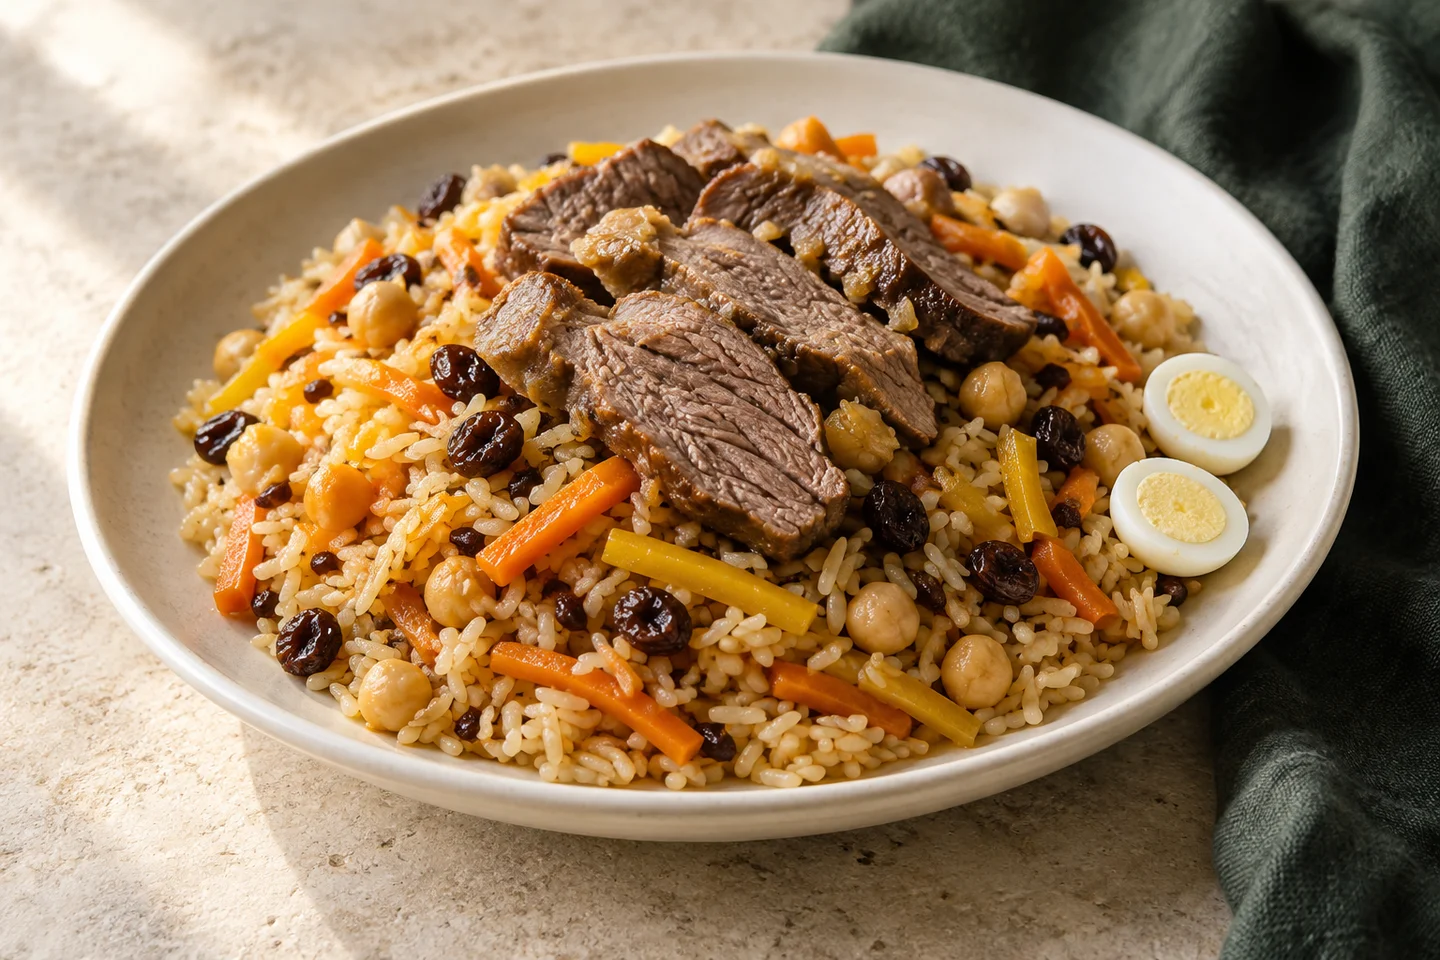
Gently mix the finished palov or serve it in layers, according to your chosen method. Distribute meat, carrots and rice evenly among the servings.
Do not leave the portion you will not eat immediately in a large pot at room temperature. Cooked rice needs to be cooled quickly and refrigerated. Read the guide to storing palov as well.